
Bending and riveting left elevator skeleton
Fri, Dec 28th 2007
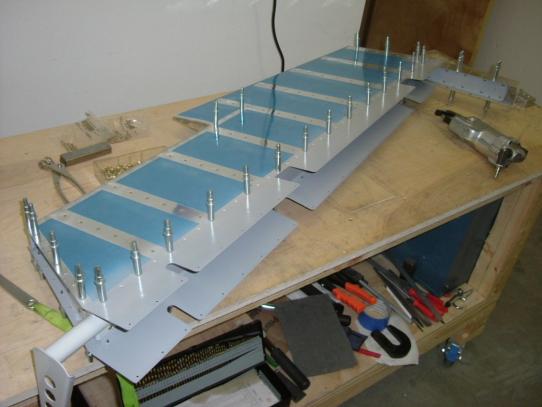
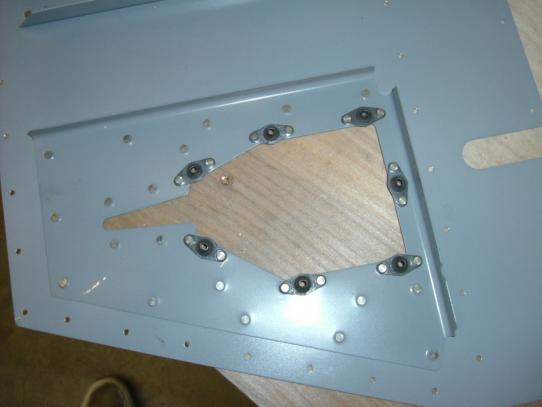
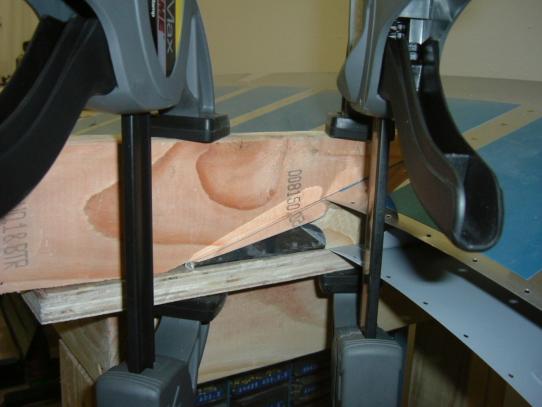
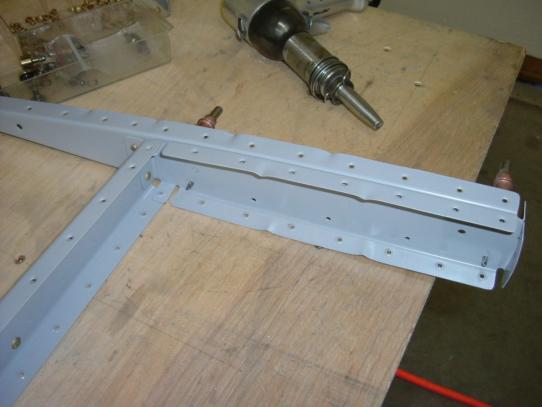
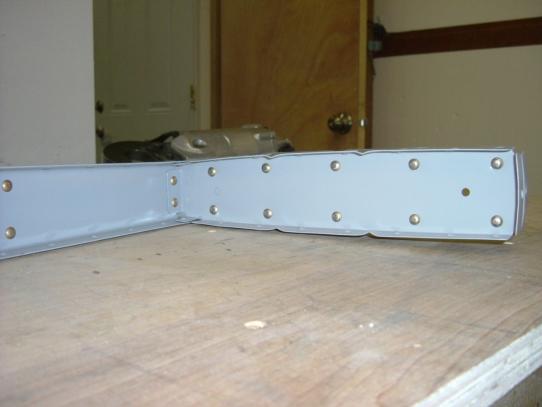
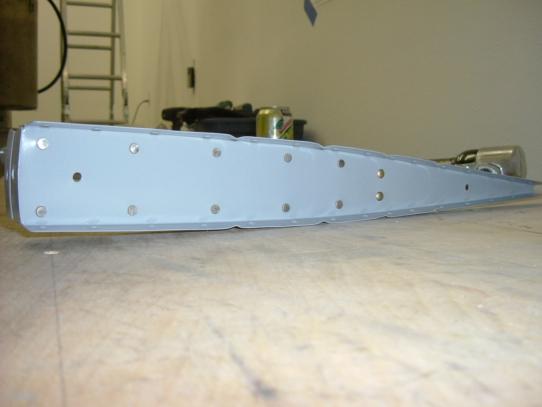
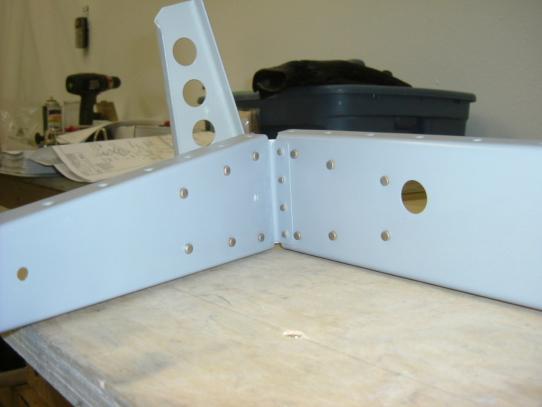
I started today with riveting the platenuts to E-615PP (should have done this before riveting E-615 to E-701-L). Then I cut up a 2x4 to act as a form for bending E-701-L outside of the trim tab, and clamped the two pieces in place. As I started bending the ears, I noticed the block on the inside was moving. The instructions mention the use of double sided tape to keep it from moving, but I thought I'd try it without since I was concerned with getting the block out of the skin without either creasing the skin somehow, or having the tape take off 1/2 of the primer with it. As I found out on the trim tab, tape is a good thing :-) After bending the E-701-L, I riveted E-610PP, E-611PP and their platenuts to E-702. I mentioned not following the directions in regards to the assembly order of E-702, E-703 & E-704 after our experience with the right elevator, and the left elevator went together MUCH easier by riveting E-704 to E-702 first, then riveting E-703 to E-704 and E-702. This was followed by riveting E-705 to E-702, then WD-605-1-L to E-702 and E-705. Next up I riveted E-713 to E-701 with two rivets on the top and two on the bottom (these won't be accesable when the ribs are in place). I positioned E-714 inside E-713, inserted the skeleton into the E-701-L skin, then clecoed it in place.