
Riveting the rudder
Sat, Nov 17th 2007
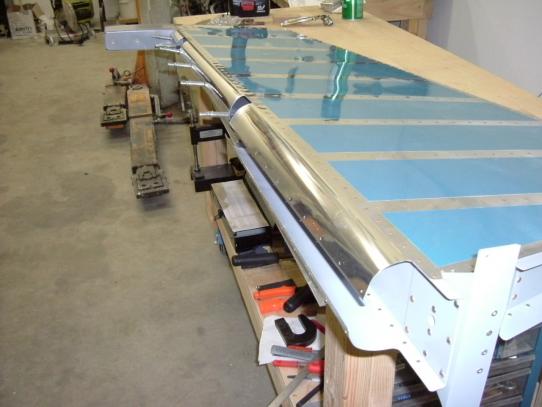
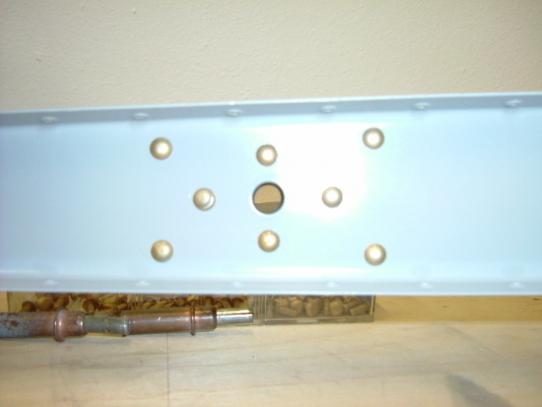
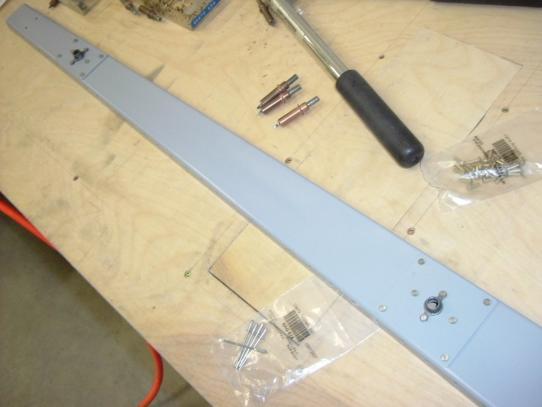
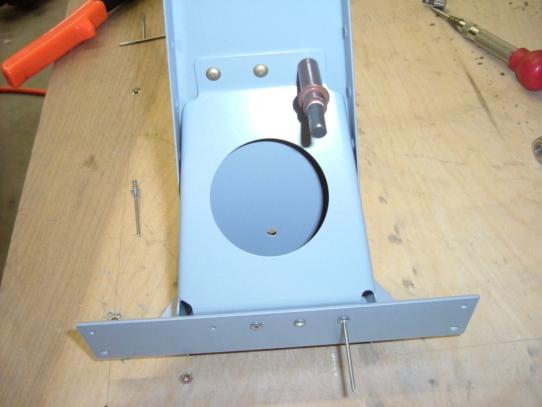
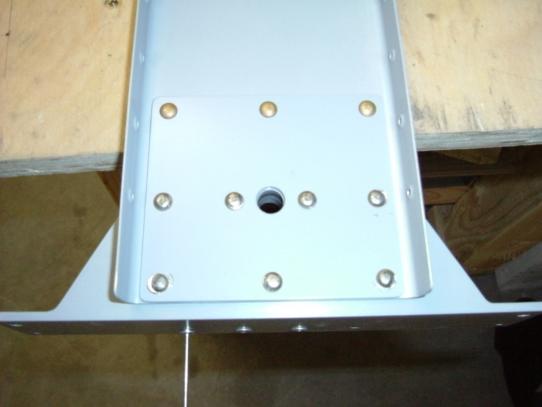
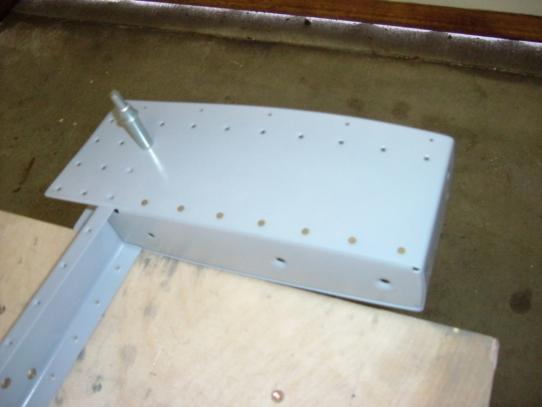
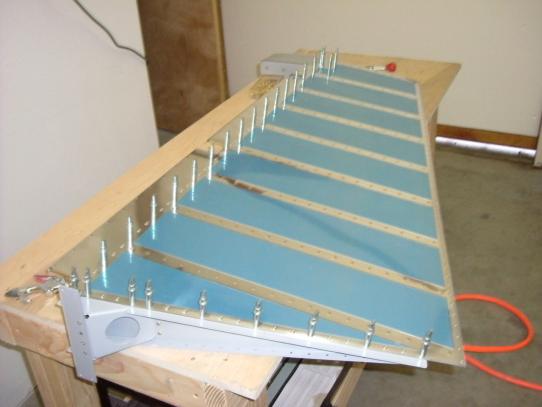
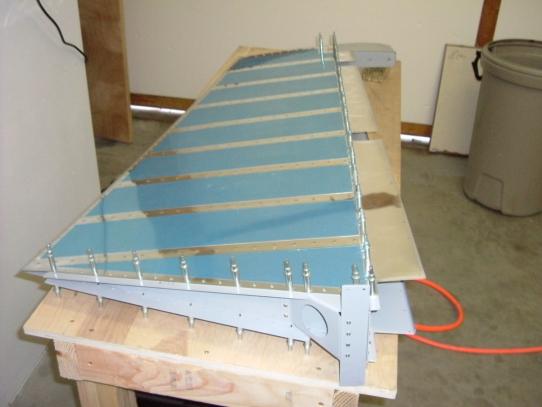
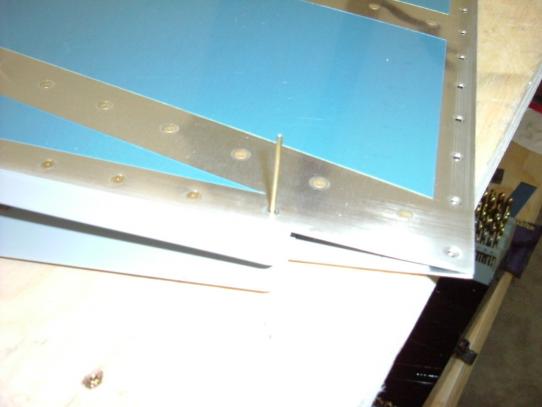
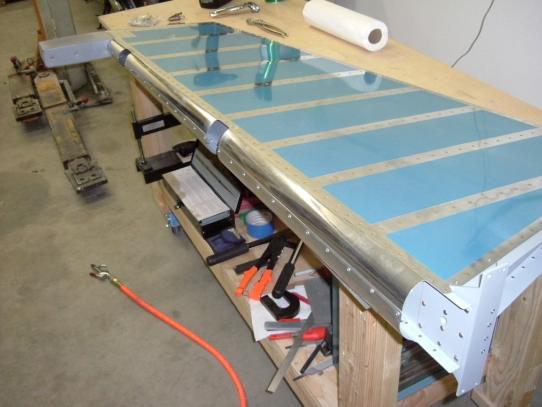
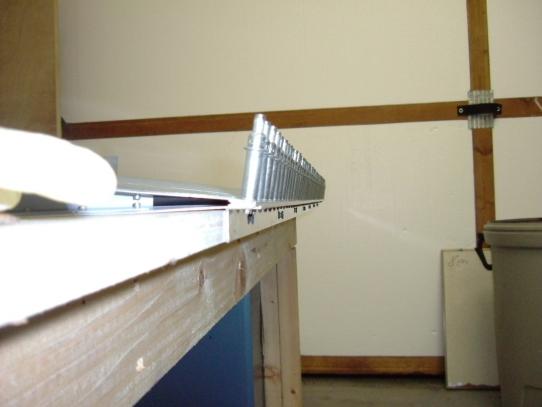
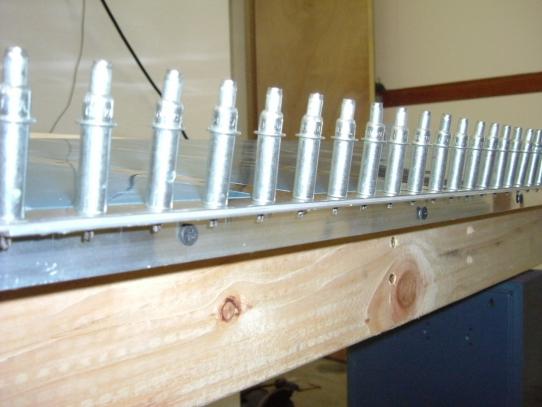
I started with riveting the reinforcement plates and platenuts to the R-902 spar, then the bottom R-904 rib, rudder horn, and R-710 brace. Next was riveting the R-912 counterbalance rib and R-913 skin to the spar and installed the lead counterweight. Next up was clecoing R-901-R and -L skins in place and blind riveting the R-903 tip rib in place. I then started squeezing all of the rivets around the skins, except the trailing edge. I used blind rivets for the very trailing edge rivets in the R-903 and R-904 ribs, and for 4 of the 8 rivets holding the R-710 brace to the R-904 rib, due to tight access. Tony had come over, and after a quick trip to the hardware store to get a roll of duct tape, we rolled and blind riveted the leading edge of the rudder. The next step was setting up the trailing edge for gluing/riveting. I screwed a piece of 3/4" x 3/4" x 48" aluminum angle to the edge of the workbench. I actually had it clamped to a 4' level to keep it straight while I screwed it to the bench. Tony helped me keep things straight while I drilled the holes through the skins into the angle by clecoing the holes I had just drilled. After everything was done to our satisfaction, we mixed up some Valvoline Pliogrip Panel 60 adhesive and applied it to the trailing edge of the skins, then slid the AEX wedge into place and clecoed the assembly to the aluminum angle and left it to set overnight.