
Wingtip installation
Wed, Dec 30th 2009
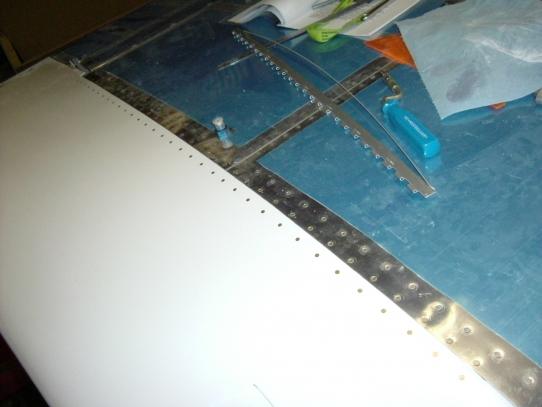
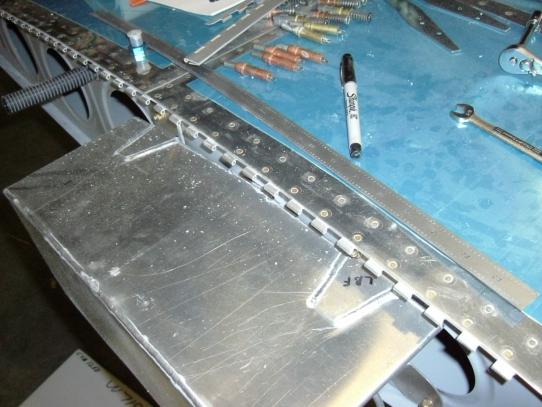
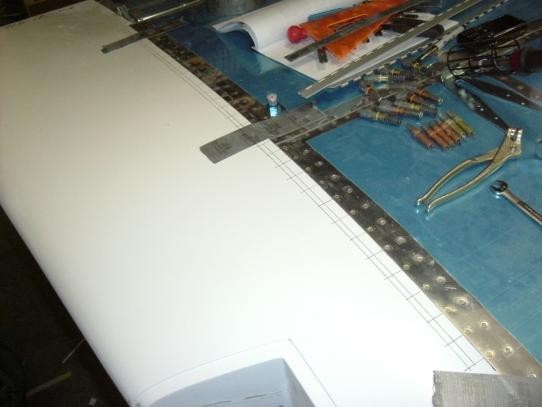
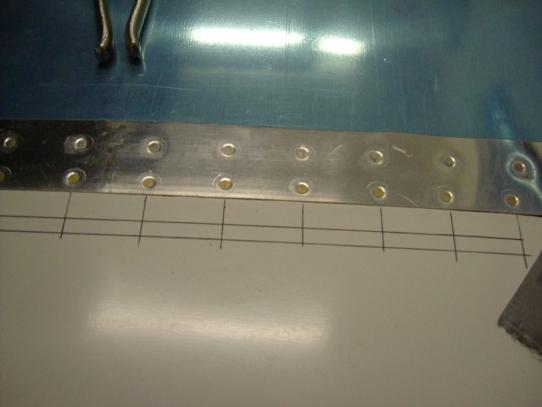
Next up was installing the wingtip. I'm deviating from the plans here, and instead of installing them with pulled (pop) rivets or screws and nutplates, I'm using piano hinges because I think the installation will look cleaner and be faster to remove/reinstall the tips. Since I have the ER tanks and plan on having at least one antenna, not to mention all of the lighting, I think having them removable is a good plan. I started by using a dremel cutoff wheel to remove the flange on the tip that is supposed ot underlap the aluminum wing skin. I measured the thickness of the fiberglass vs. the thickness of the aluminum, and determined that I needed about a .050" shim on the wing side of the piano hinge to make up for the difference in thickness. Not having any aluminum that thick, I realized I had some leftover hinge stock that was .040" and could cut the eyes off that, then maybe sand the last .010" off of the tips (basically the gelcoat). So that was my plan and I set forth. I used a rivet fan to double up the number of rivet holes in the wing, then clamped a section of hinge and shim to the wing for match drilling, then deburred and dimpled the hinge, shim and skin. Next, I clecoed them back together and setup the pneumatic squeezer and riveted them all together. Now I needed to fit the matching hinge to the wingtip. I attached the matching section of hinge, then taped the wingtip in place, located where the holes needed to be drilled, and......drilled. After deburring the second hinge section, I countersunk the fiberglass, then riveted the hinge to the wingtip and test fit the whole assembly. The pin goes in OK dry with the assistance of a drill, but I'm sure it will get better with a sufficient lubricant.