
Finishing the horizontal stabilizer!
Sun, Oct 28th 2007
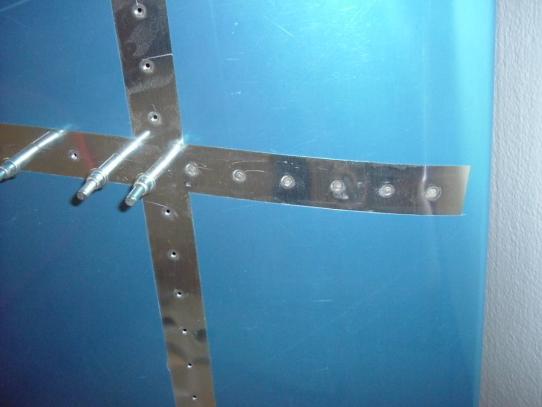
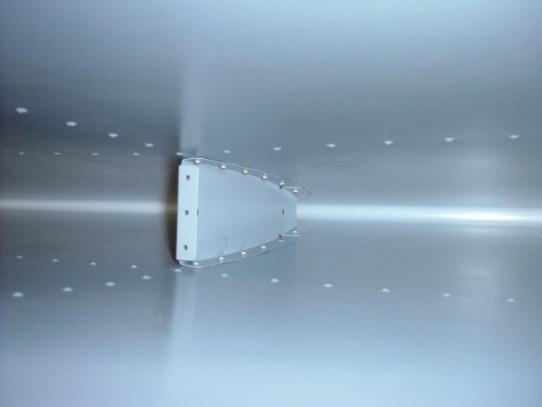
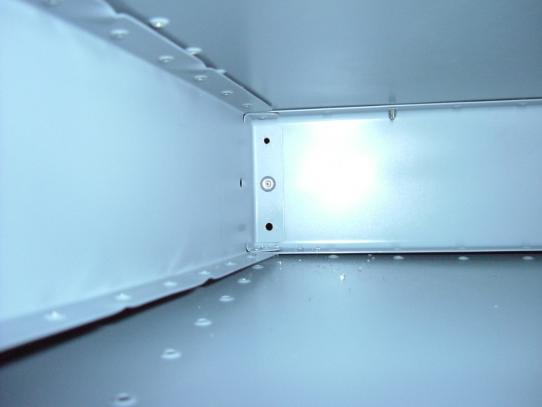
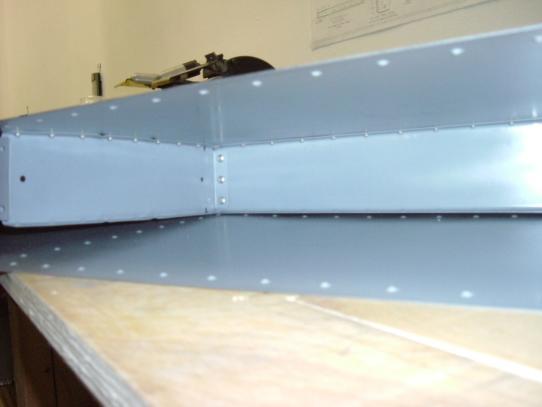
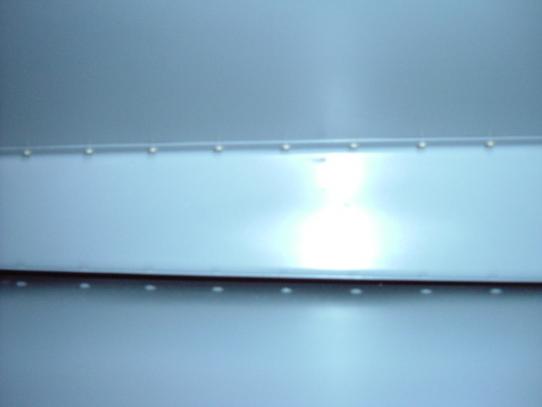
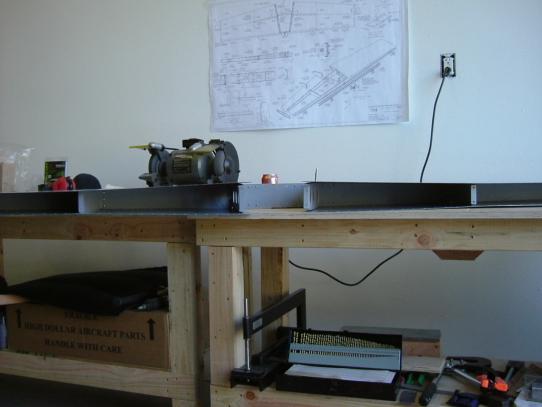
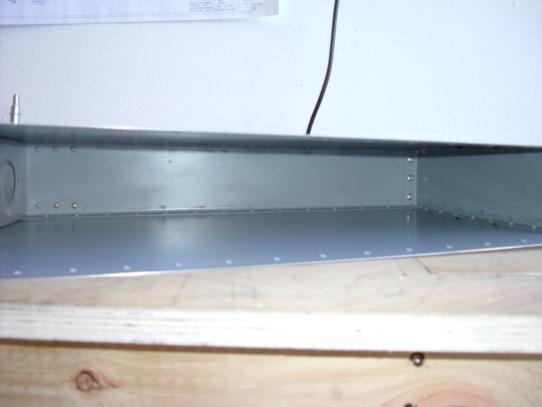
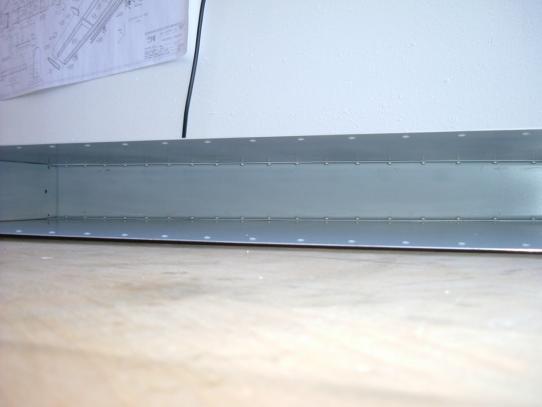
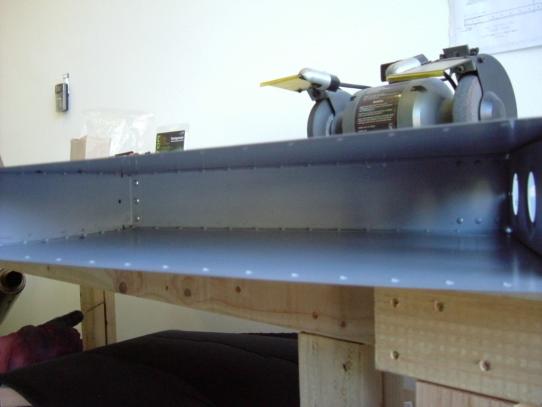
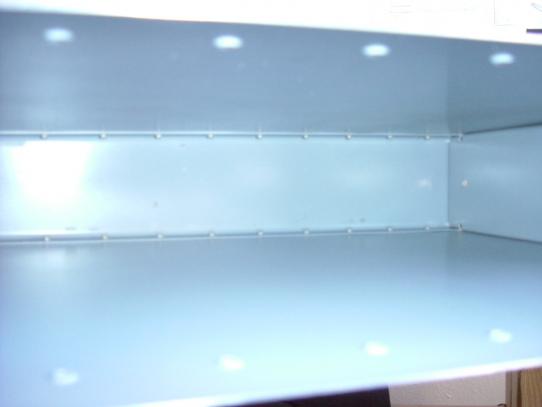
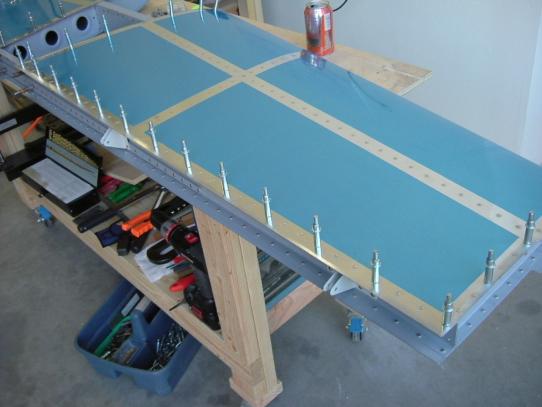
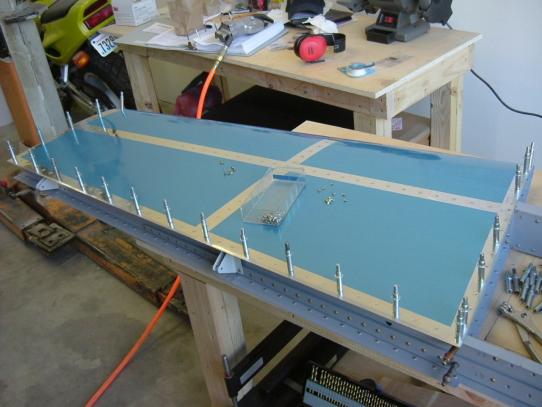
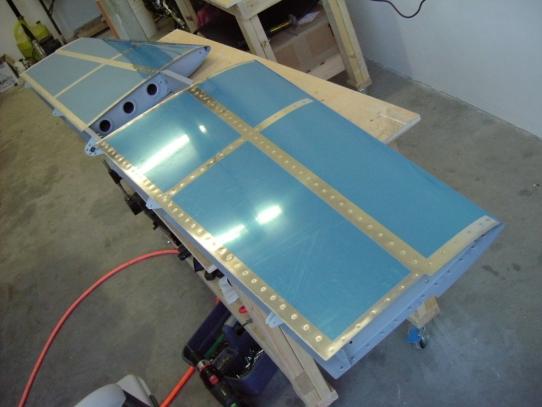
So today I finished the horizontal stabilizer! So today I got started with riveting the ribs onto the skins. If you've ever wondered how they get some of those rivets in place, here's the rundown. First, you cleco the HS-707 rib in place- lots of fun wrestling the skin around the rib, then getting multiple clecos in place before the skin pulls them out! The directions say to rivet the top side of HS-707 first, the do the bottom side, but I found it diffecult to line up the holes on the bottom side without the nose of the rib scraping off the primer on the skin, so I started clecoing at teh nose and worked my way back. It helps to also cleco HS-708 and 706 in place to help take some of the load from the skin wanting to spring open. Then, starting at the nose, I would tape two AN426AD3-3.5 rivets in place and carefully shoot and buck the rivets. It's tight quarters inside the skin, and it would be nice to have a helper since it's tough to see what's going on on both sides of the skin at the same time. I did OK, but I do have a couple of small dings- nothing to lose sleep over though. The next step is riveting the HS-702 front spar in place. I also did HS-708 at the same time since they share a couple of rivets. This was much easier than the -707, but still a bit of work bucking in close quarters with the tools in each hand trying their best to not stay where you want them! I had clecoed every third hole, so I had some space to work between the clecos. After bucking all of the solid rivets, there were six blind rivets that needed to be set holding the HS-707, 702, and 708 together. This was my first screwup requiring a replacement order from Van's. After scouring the wrong parts of the drawing to find which rivets I needed to use, I found what I thought was the answer. I found the bag, and it had jsut the right number of rivets in it, so I thought I was golden. I went to slide one in place, and it was too big! I thought I had maybe missed where I was suppoosed to drill the holes bigger, of that Van's had forgotten that step, so I drilled the holes bigger and pulled the rivets. It wasn't until I was working on the other side that I discoverd my mistake. "Oh well, gotta build it symmetrical now!". Getting to the point where all of the "internal" rivets were in place seemed like the longest part of the day- after all, all of the rest of the rivets get set with- you guessed it- the PNEUMATIC SQUEEZER :-D I made quick work of closing up the perimeter of the HS-601PP's, and all of the rivets came out perfect with the squeezer :-) Now I have a flyable horizontal stabilizer, with the exception of the fiberglass tips that get put on later, and the blind rivets at the aft end of HS-708 (those got used on the fore end of HS-708 ;-) ). I'll get those this week and they'll take all of 60 seconds to install. Onto the vertical stabilizer!